
Mold is not only unsightly but also a serious health hazard. It can trigger allergies, worsen respiratory conditions, and cause long-term structural damage to your home or business. Proper mold removal is essential to restore safety and prevent future growth. Read on for a breakdown of the mold removal process step-by-step, highlighting the importance of professional intervention.
Step 1: Mold Inspection & Assessment
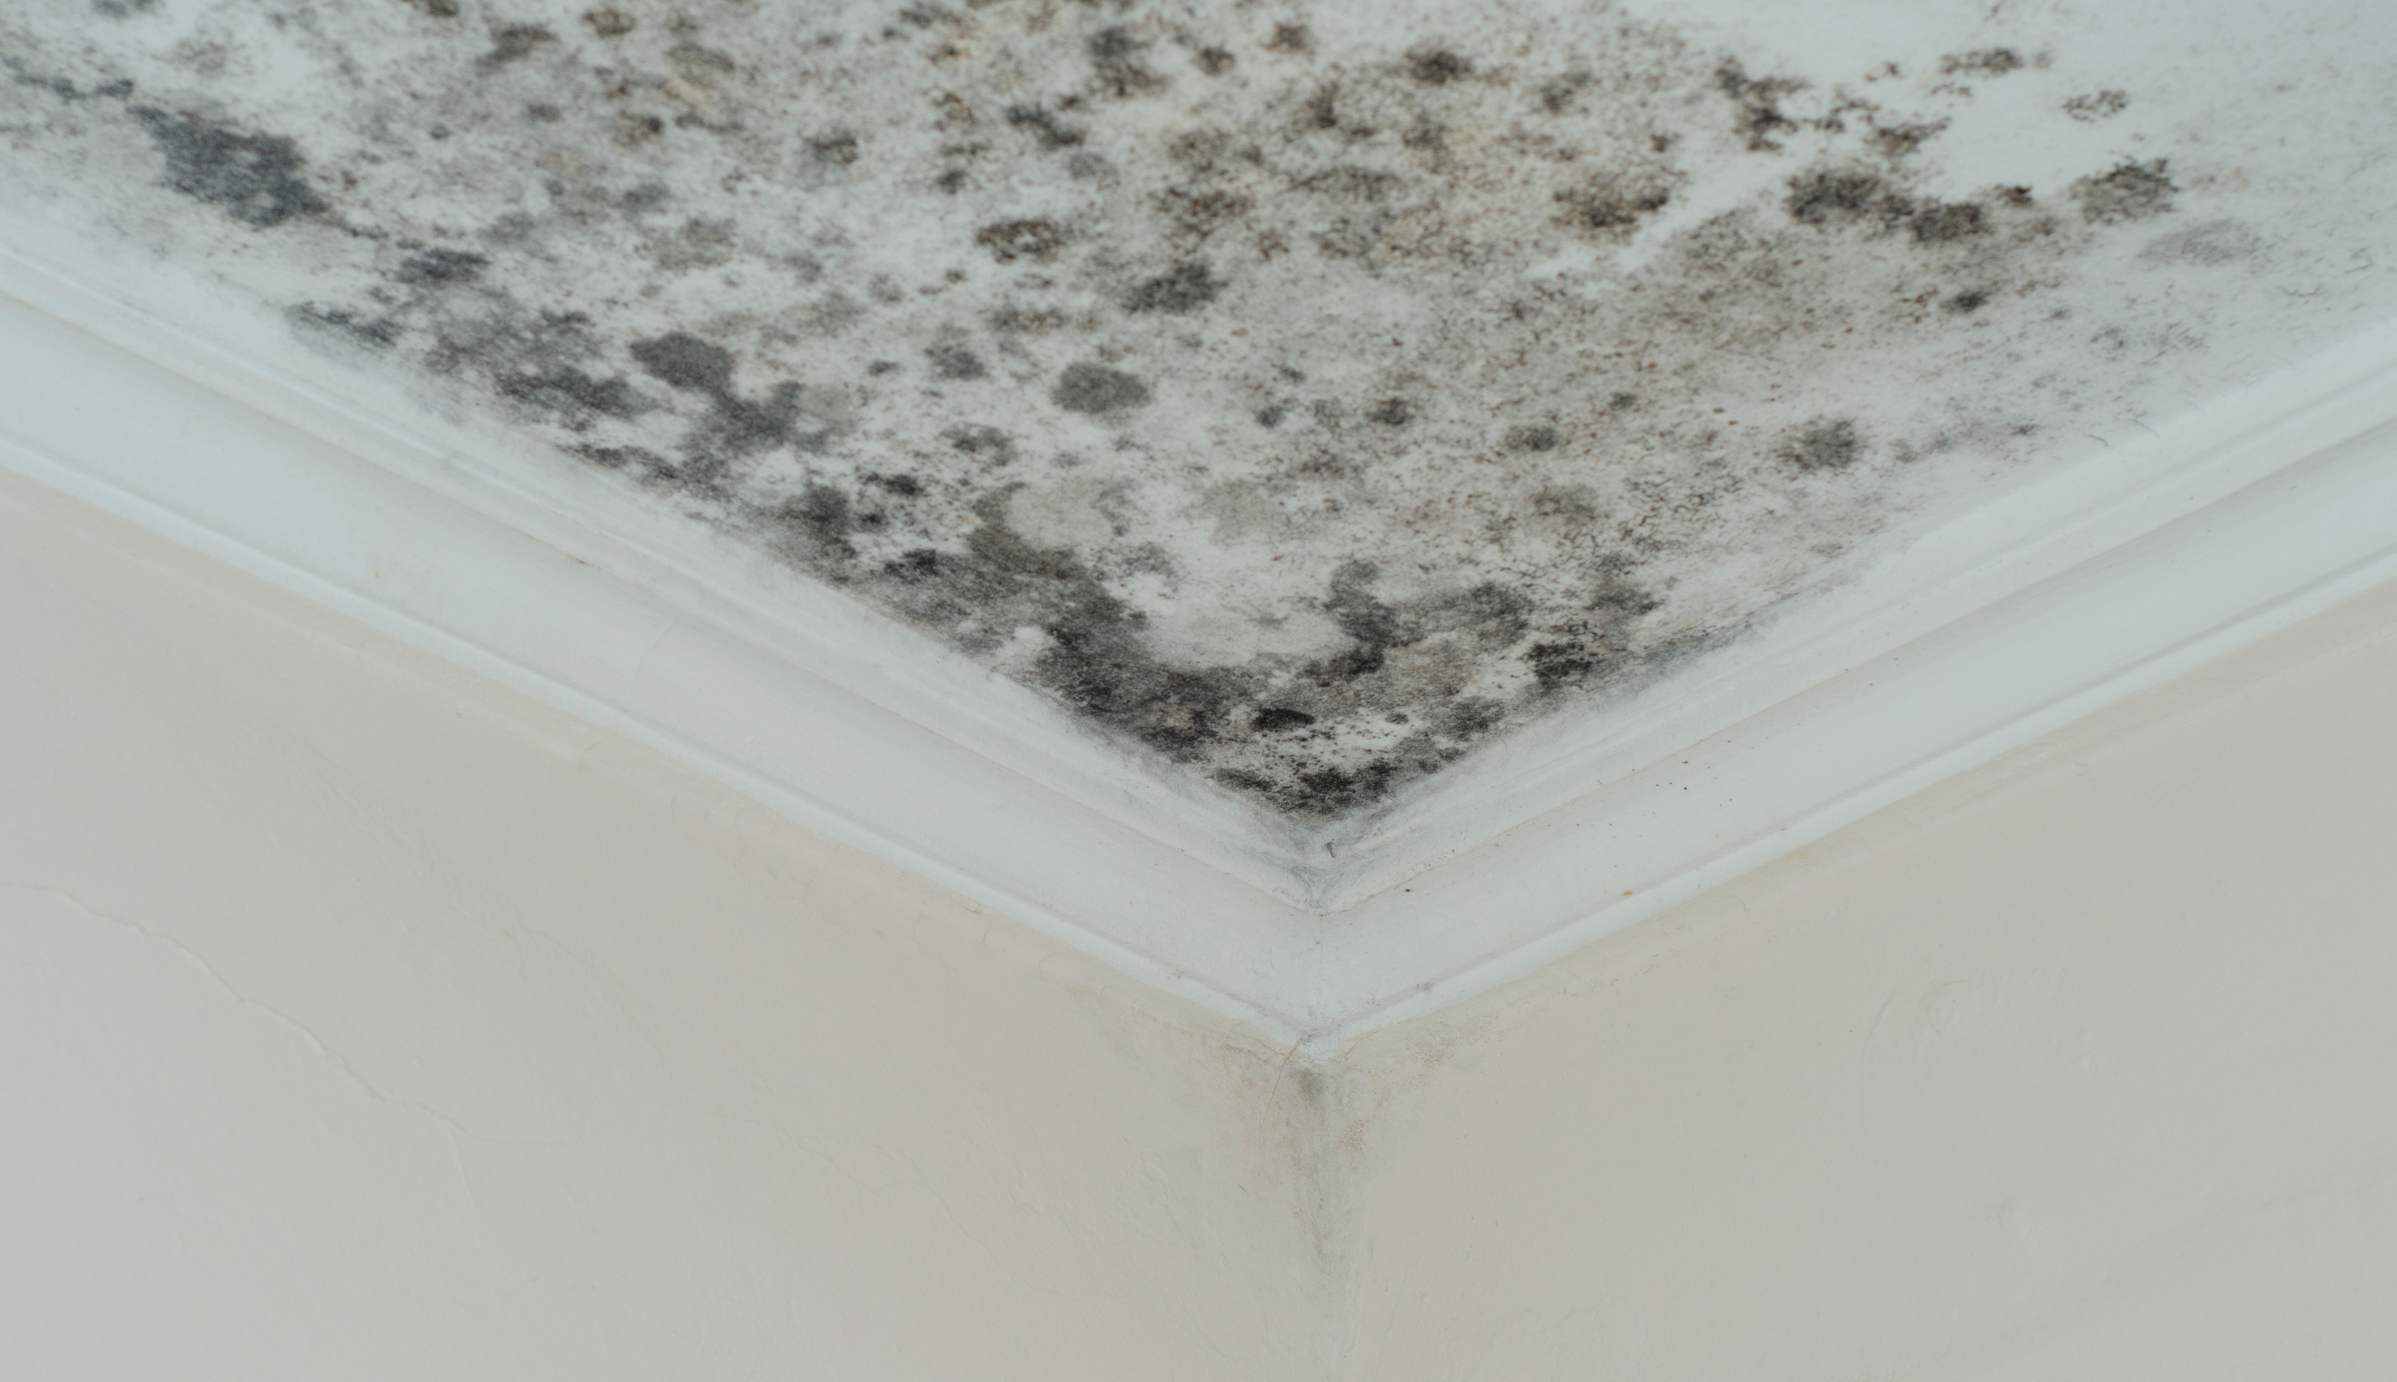
The first step in mold removal is a thorough inspection of the property to locate and identify mold growth.
What Professionals Look For
- Visible Mold: Dark spots or discoloration on walls, ceilings, or floors.
- Musty Odors: A persistent, damp smell often indicates hidden mold.
- Water Damage: Areas with previous leaks or flooding are prime locations for mold growth.
Tools Used In Mold Inspection
- Moisture Meters: To detect hidden moisture behind walls or floors.
- Air Quality Tests: To measure mold spores in the air.
- Thermal Imaging: To identify damp areas that may harbor mold.
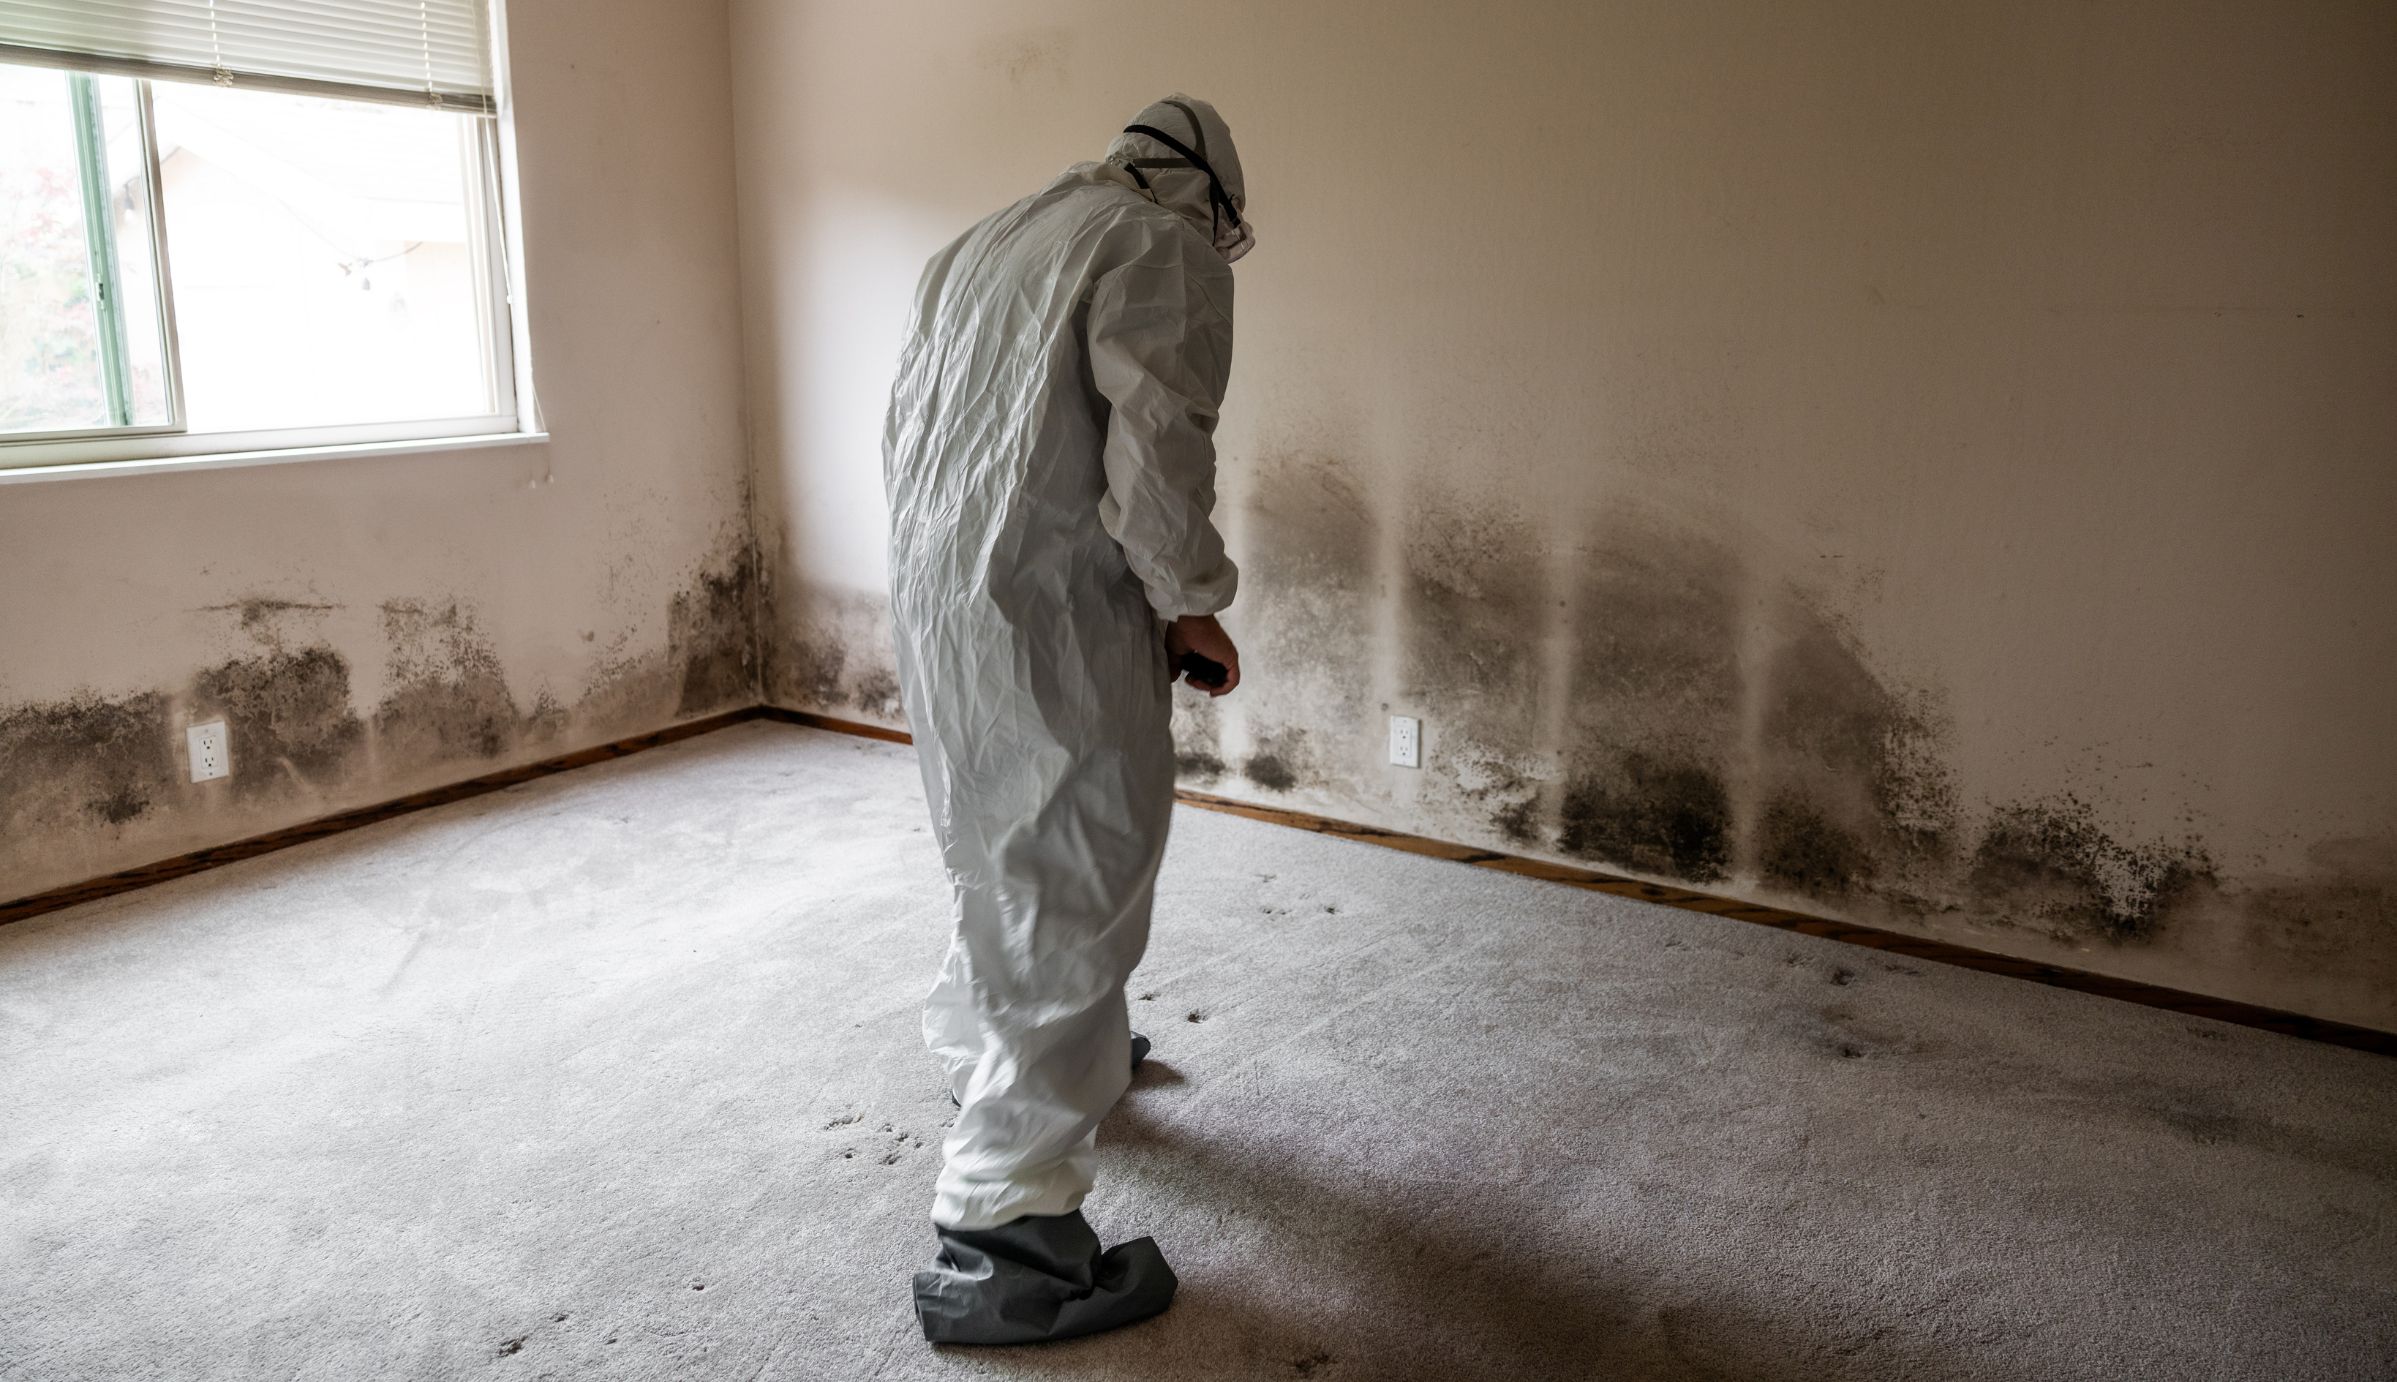
Step 2: Containment
Once the mold is identified, the affected areas are sealed off to prevent the spread of spores during the removal process.
Containment Methods
- Physical Barriers: Plastic sheeting to isolate the area.
- Negative Air Pressure: Specialized equipment to ensure spores do not escape into clean areas.
- Shutting Down HVAC Systems: To prevent spores from circulating through air ducts.
Step 3: Mold Removal & Cleaning
The removal process involves eliminating mold and addressing the materials it has affected.
Mold Removal Techniques
- Non-Porous Materials: Cleaned with antimicrobial agents to kill mold.
- Porous Materials: Severely infested items like drywall or carpet may need to be removed and replaced.
- Vacuuming: HEPA vacuums capture and remove mold spores during cleanup.
Step 4: Drying & Dehumidification
Mold thrives in moist environments, so drying the area is critical to prevent recurrence.
Key Steps
- Industrial-Grade Dehumidifiers: Reduce humidity levels in the affected area.
- Fans and Air Movers: Speed up the drying process.
- Moisture Monitoring: Ensures all damp areas are completely dry before proceeding.
Step 5: Sanitization & Restoration
After mold removal, sanitization ensures the area is safe for use.
Cleaning & Restoration
- Disinfecting Surfaces: Antimicrobial solutions are applied to kill remaining spores.
- Odor Removal: Deodorizers eliminate any lingering musty smells.
- Restoration Work: Replacing removed drywall, repainting, or repairing floors to return the property to its original condition.
Step 6: Mold Prevention Strategies
Preventing mold growth is just as important as removing it. Here’s how professionals help protect your property long-term.
Prevention Tips
- Fix Water Leaks Promptly: Address plumbing issues and roof leaks immediately.
- Maintain Proper Ventilation: Use exhaust fans in bathrooms, kitchens, and laundry rooms.
- Monitor Humidity Levels: Keep indoor humidity below 50% with dehumidifiers.
- Routine Inspections: Schedule regular mold checks, especially after water damage.
Why Choose Rome Environmental For Mold Remediation?
Mold removal is a multi-step process that requires professional expertise to ensure complete eradication and prevention. At Rome Environmental, our certified professionals use advanced techniques to ensure your property is mold-free and safe. From initial inspection to preventative measures, we handle every step with care and precision. Protect your property, health, and peace of mind by trusting our experienced team. Contact Rome Environmental today for expert mold removal services that you can count on.

